
Cyanotype Test Strip Tutorial
While the cyanotype process is not an exact science, making a test strip is an important first step in creating your perfect print. It helps you nail the ‘right’ blue for you. Maybe you want the look of a light denim wash or maybe you prefer the deep indigo look. Regardless, this process will help you get it right each and every time.
Why Make a Strip?
Making a test strip will help you determine exact exposure time for you print. The strip will also serve as an important reference tool for future printing.
Materials You Will Need
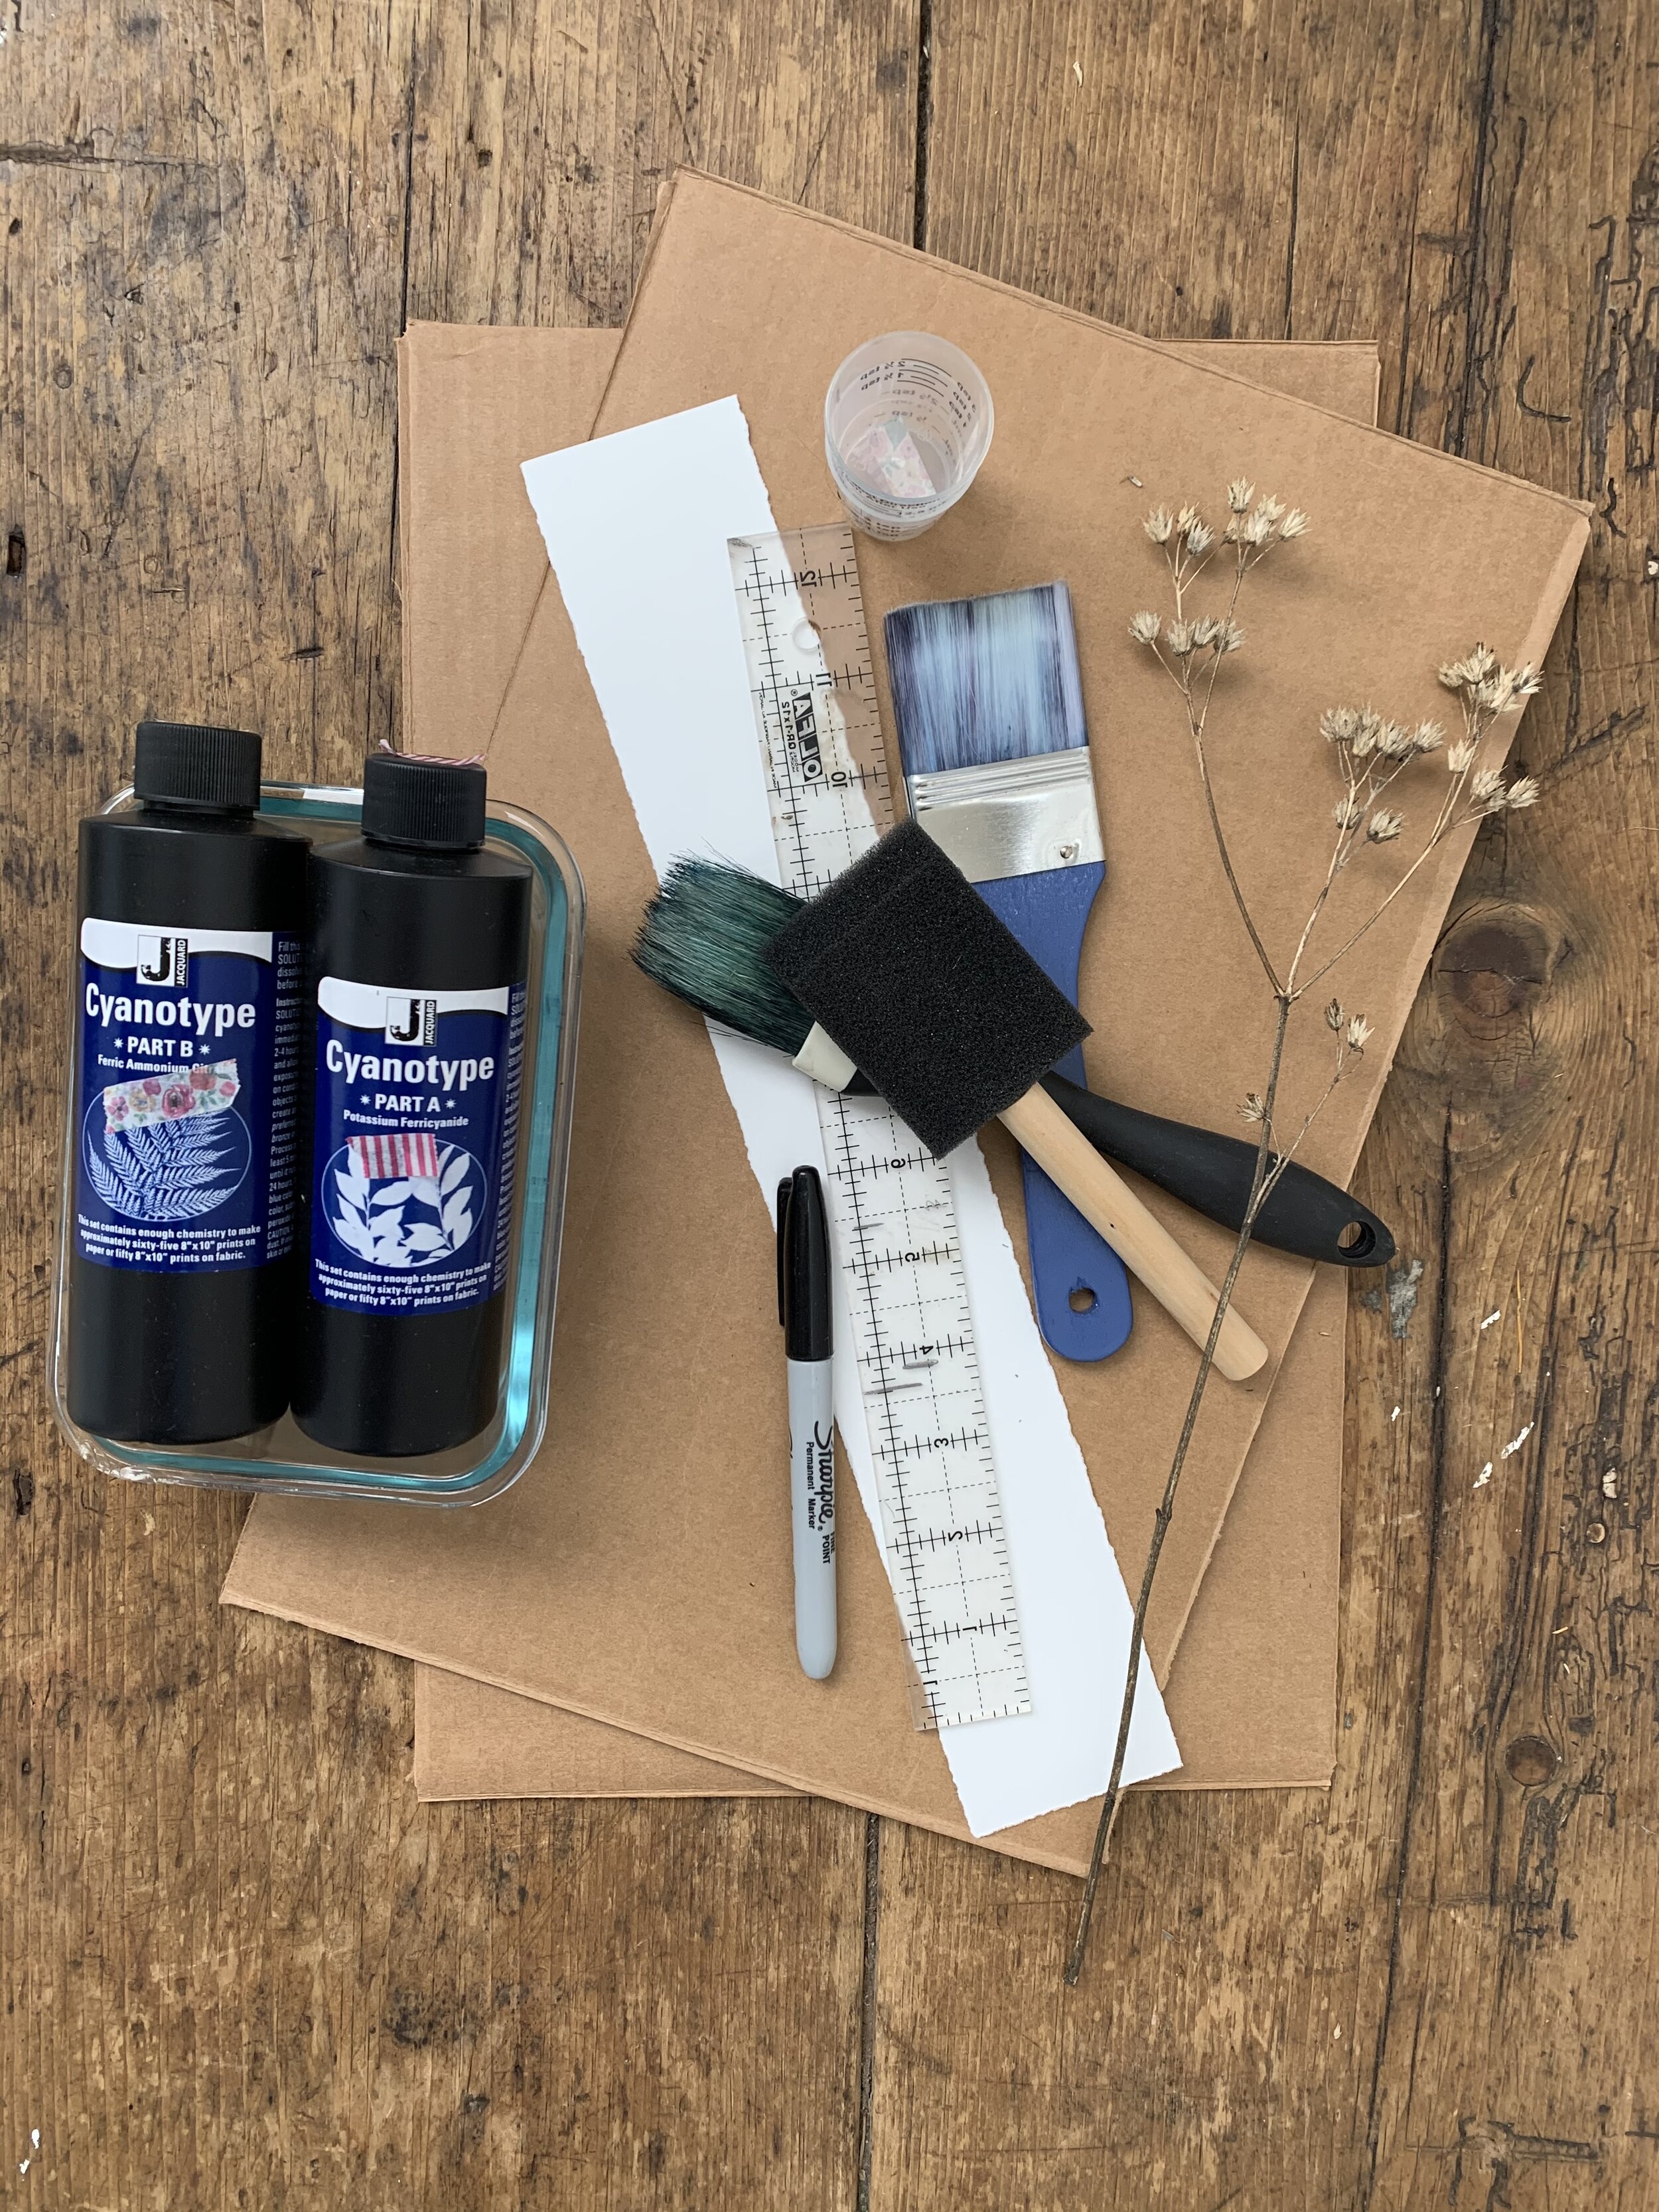
Cyanotype Solution (A&B)
Measuring cups—like a small medicine cup
Container to mix solution
Brush
Scrap of your printing paper
Ruler
Sharpie
2 pieces of cardboard
Phone timer
Test Strip: How To
Cut a long rectangular strip of your printing paper approximately 10-15 inches long
Mix up your cyanotype solution with equal parts A & B
Paint the strip with the cyanotype solution and allow to dry completely
When your paper is dry, measure off 1 inch sections with a sharpie until you reach the end of the strip.--when you are finished you should have at least 10-15 sections marked off.
Place the paper on a piece of cardboard for backing
Cover the strip with a piece of cardboard to protect it from UV light until you are ready to expose
Grab your phone
Take your covered strip outside.
Make note of the time.
Pull up your timer and set it to one minute
Pull back the cardboard to expose the first square of your strip
Start your timer for one minute
When the timer goes off, pull back the cardboard to expose the next section and start your timer again.
Continue the process until all the sections have been exposed
When you are finished, completely cover your strip with cardboard to prevent further exposure and take inside to develop in water
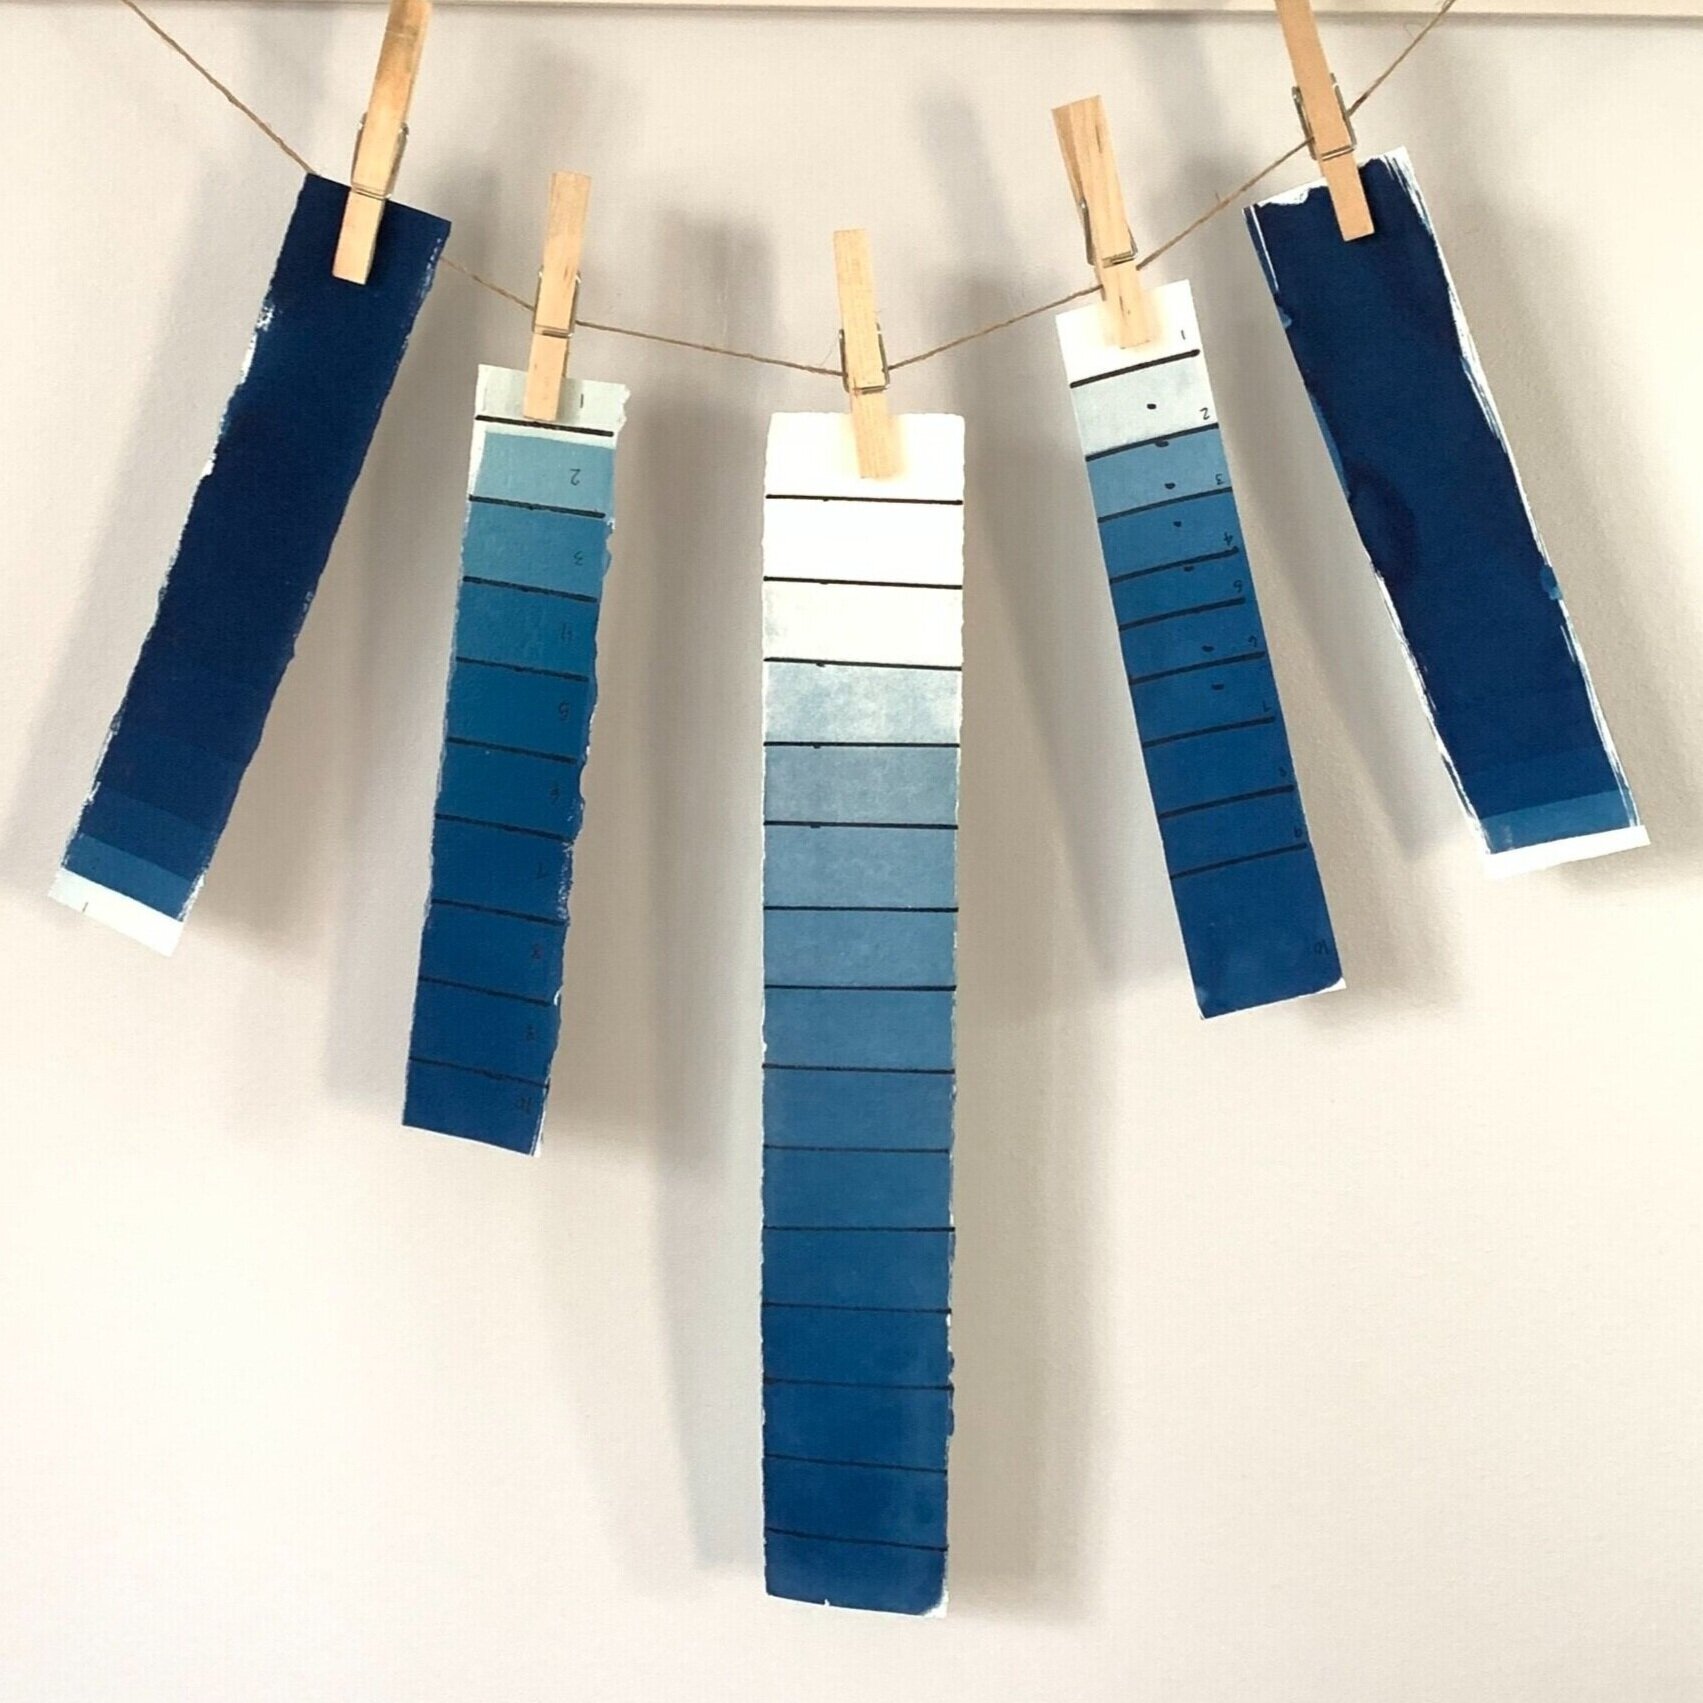
Develop your strip and hang it to dry
When you are finished, you will have an hombre-looking strip that shows you what color blue you will get at each exposure time.
Pro Tip: On the back of the print, write the date and time of day that you made the exposure, so you will have a record that you can refer to for later exposures.
I hope you found this post helpful, but if have any questions, I’d be happy to help. Let me know in the comments section below. To learn more about making your own cyanotype print, check out this tutorial.