
Cyanotype Tutorial
Are you struggling to find some semblance of peace and serenity in these hectic times? Well, I’ve got just the thing! Cyanotypes. Creating cyanotypes is fun and easy. It doesn’t require any special artistic talents to get fantastic results, and is a wonderful way to add some soothing, nature-based creativity into your life. All you need is access to nature, a few materials, and a little sunshine!
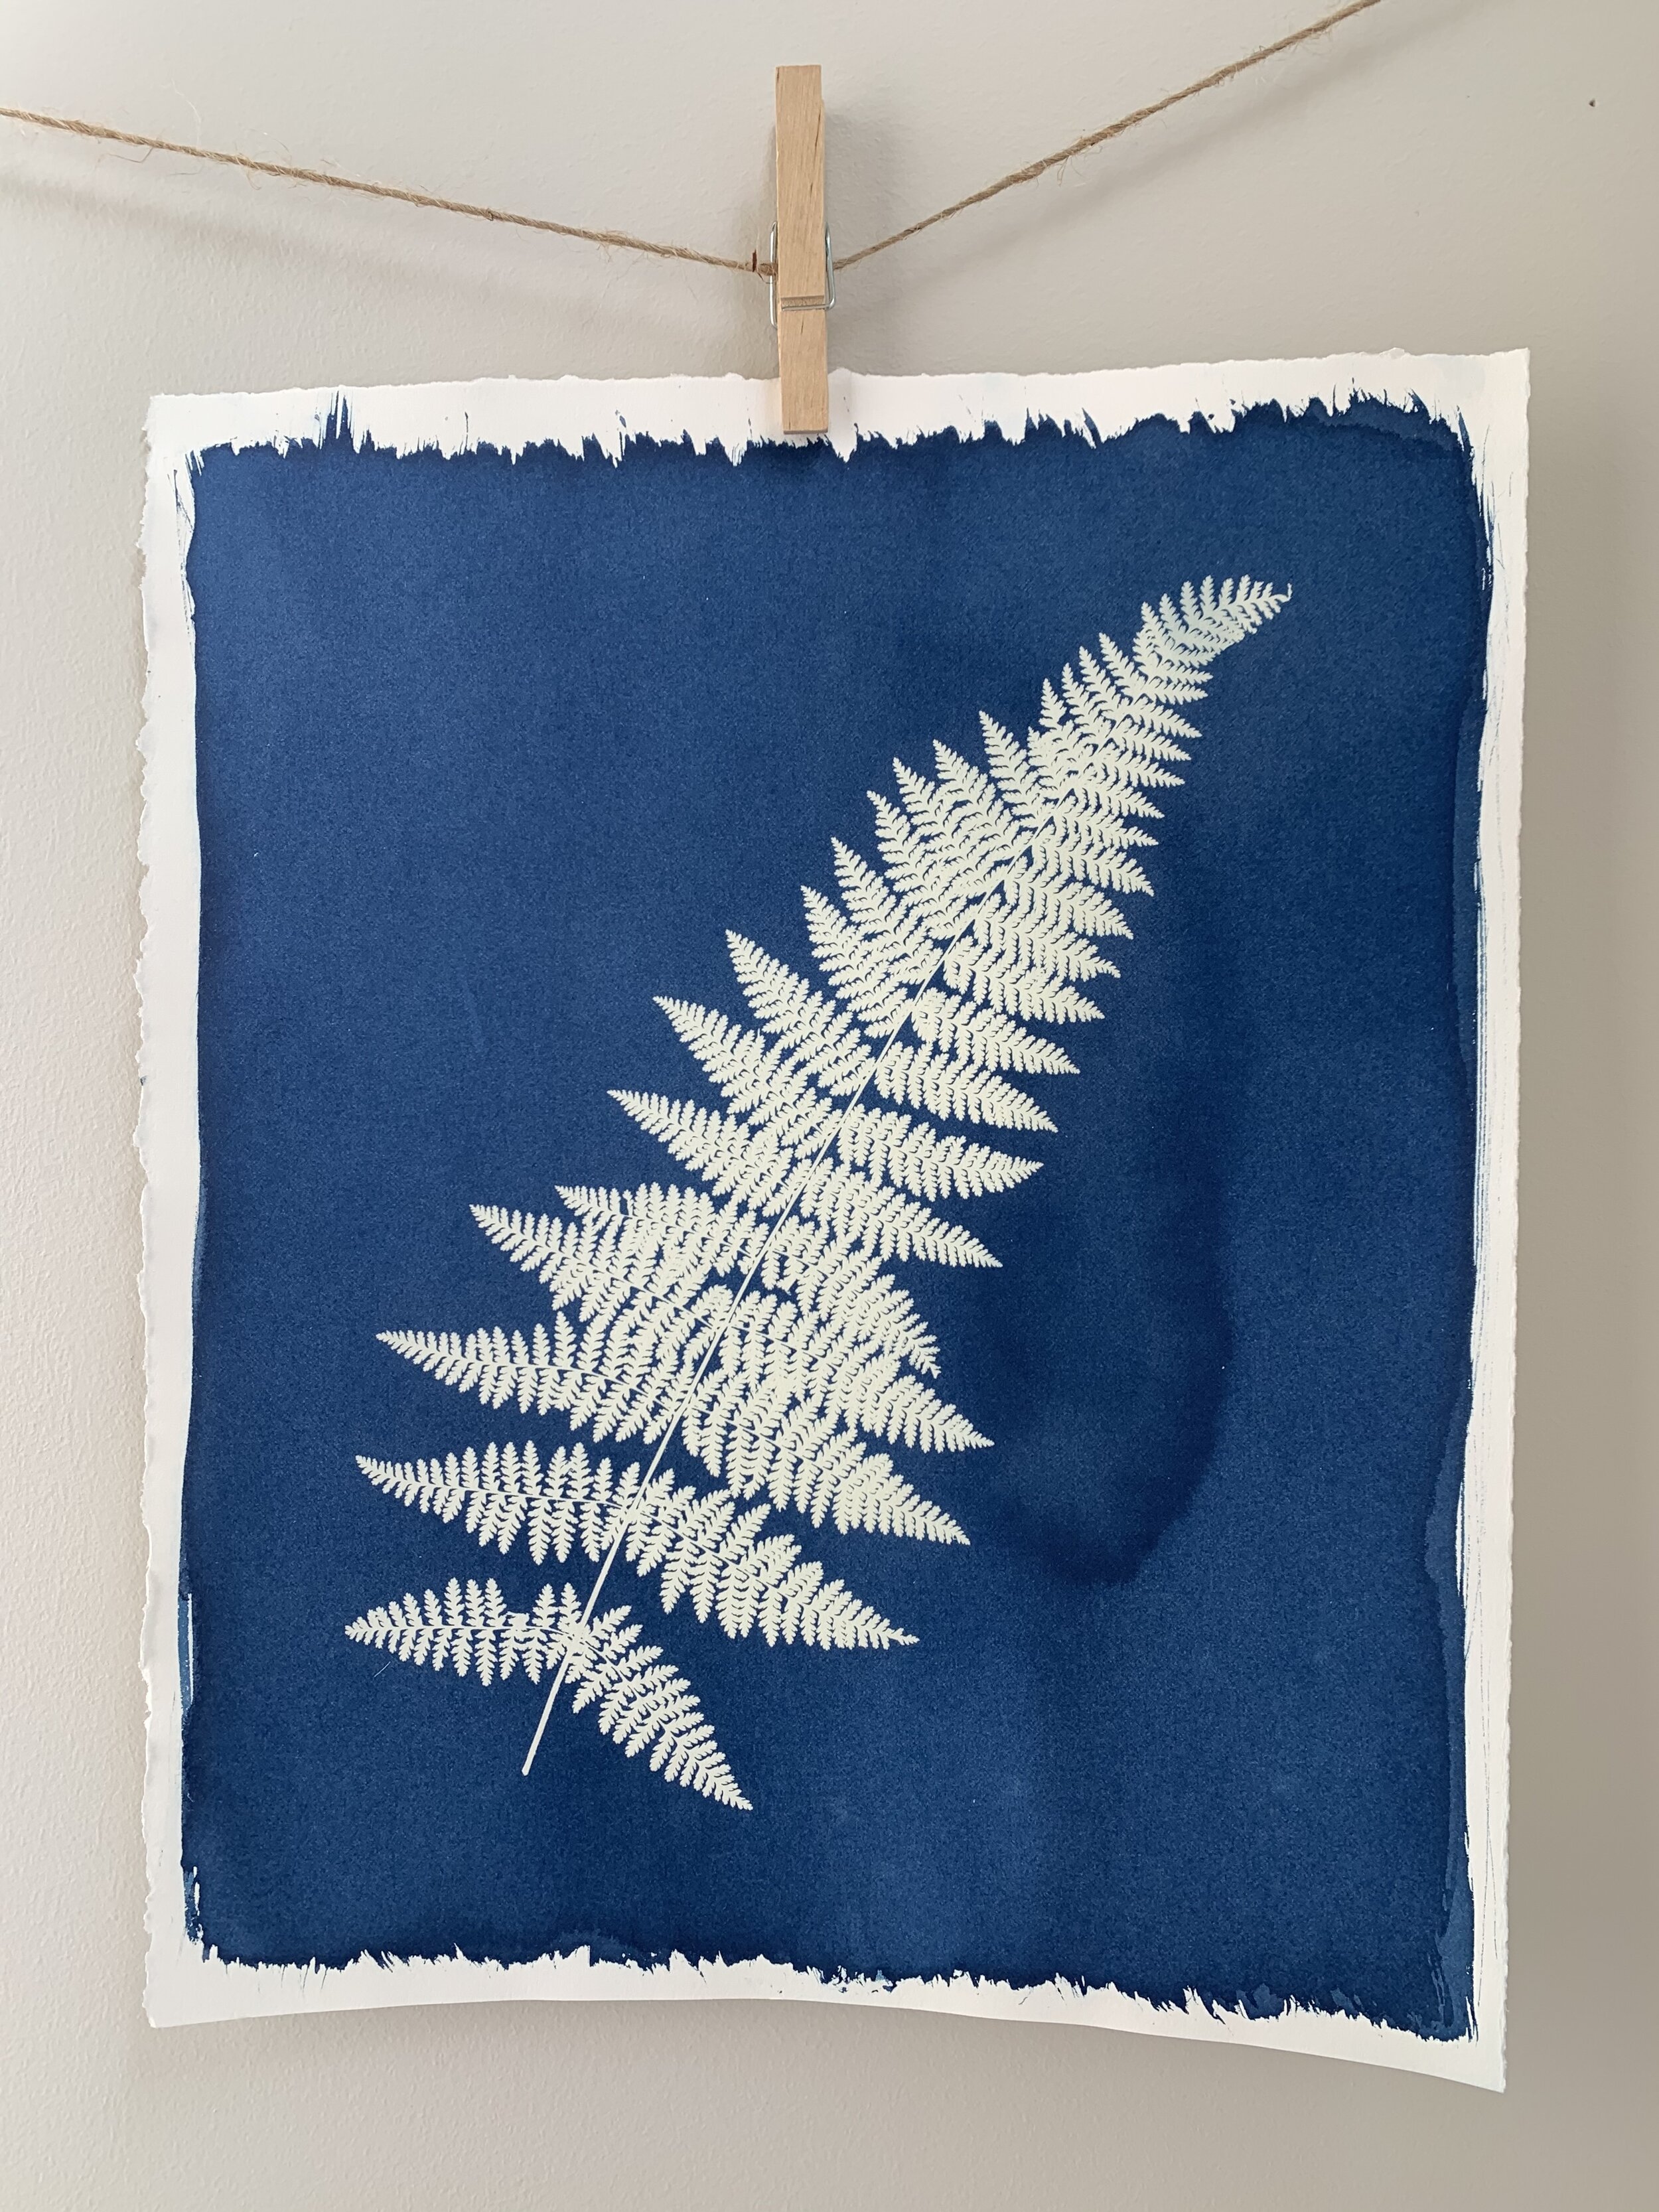
When it’s all said and done, you’ll have a peaceful print to remind you of the beauty of nature and the time you spent there.
It's the Journey, Not the Destination

An Invitation to Explore
I hope that by the end of this creative adventure, you will not only have a beautiful print for your walls, but that you will also have gotten a little lost in the creative process itself—don’t forget that its in the getting lost that we can actually find ourselves! One of the most interesting aspects of the cyanotype process is that it requires we connect to and create with nature. The plants and the sun are, quite literally, your partners in creation. You simply can’t make the print without them. So in my mind, relaxing into this creative process is as important as the print itself. I prefer to think of the print as a souvenir, a small gift that reminds me of a happy, carefree (albeit mini)vacation. So, be sure to take the time to treat yourself to the journey.
So What Exactly Is a Cyanotype Anyway?
It's important to understand what a cyanotype is before you set out to make one. Understanding this will help you as you compose your piece and will result in a much more interesting final print.
So what is a cyanotype?
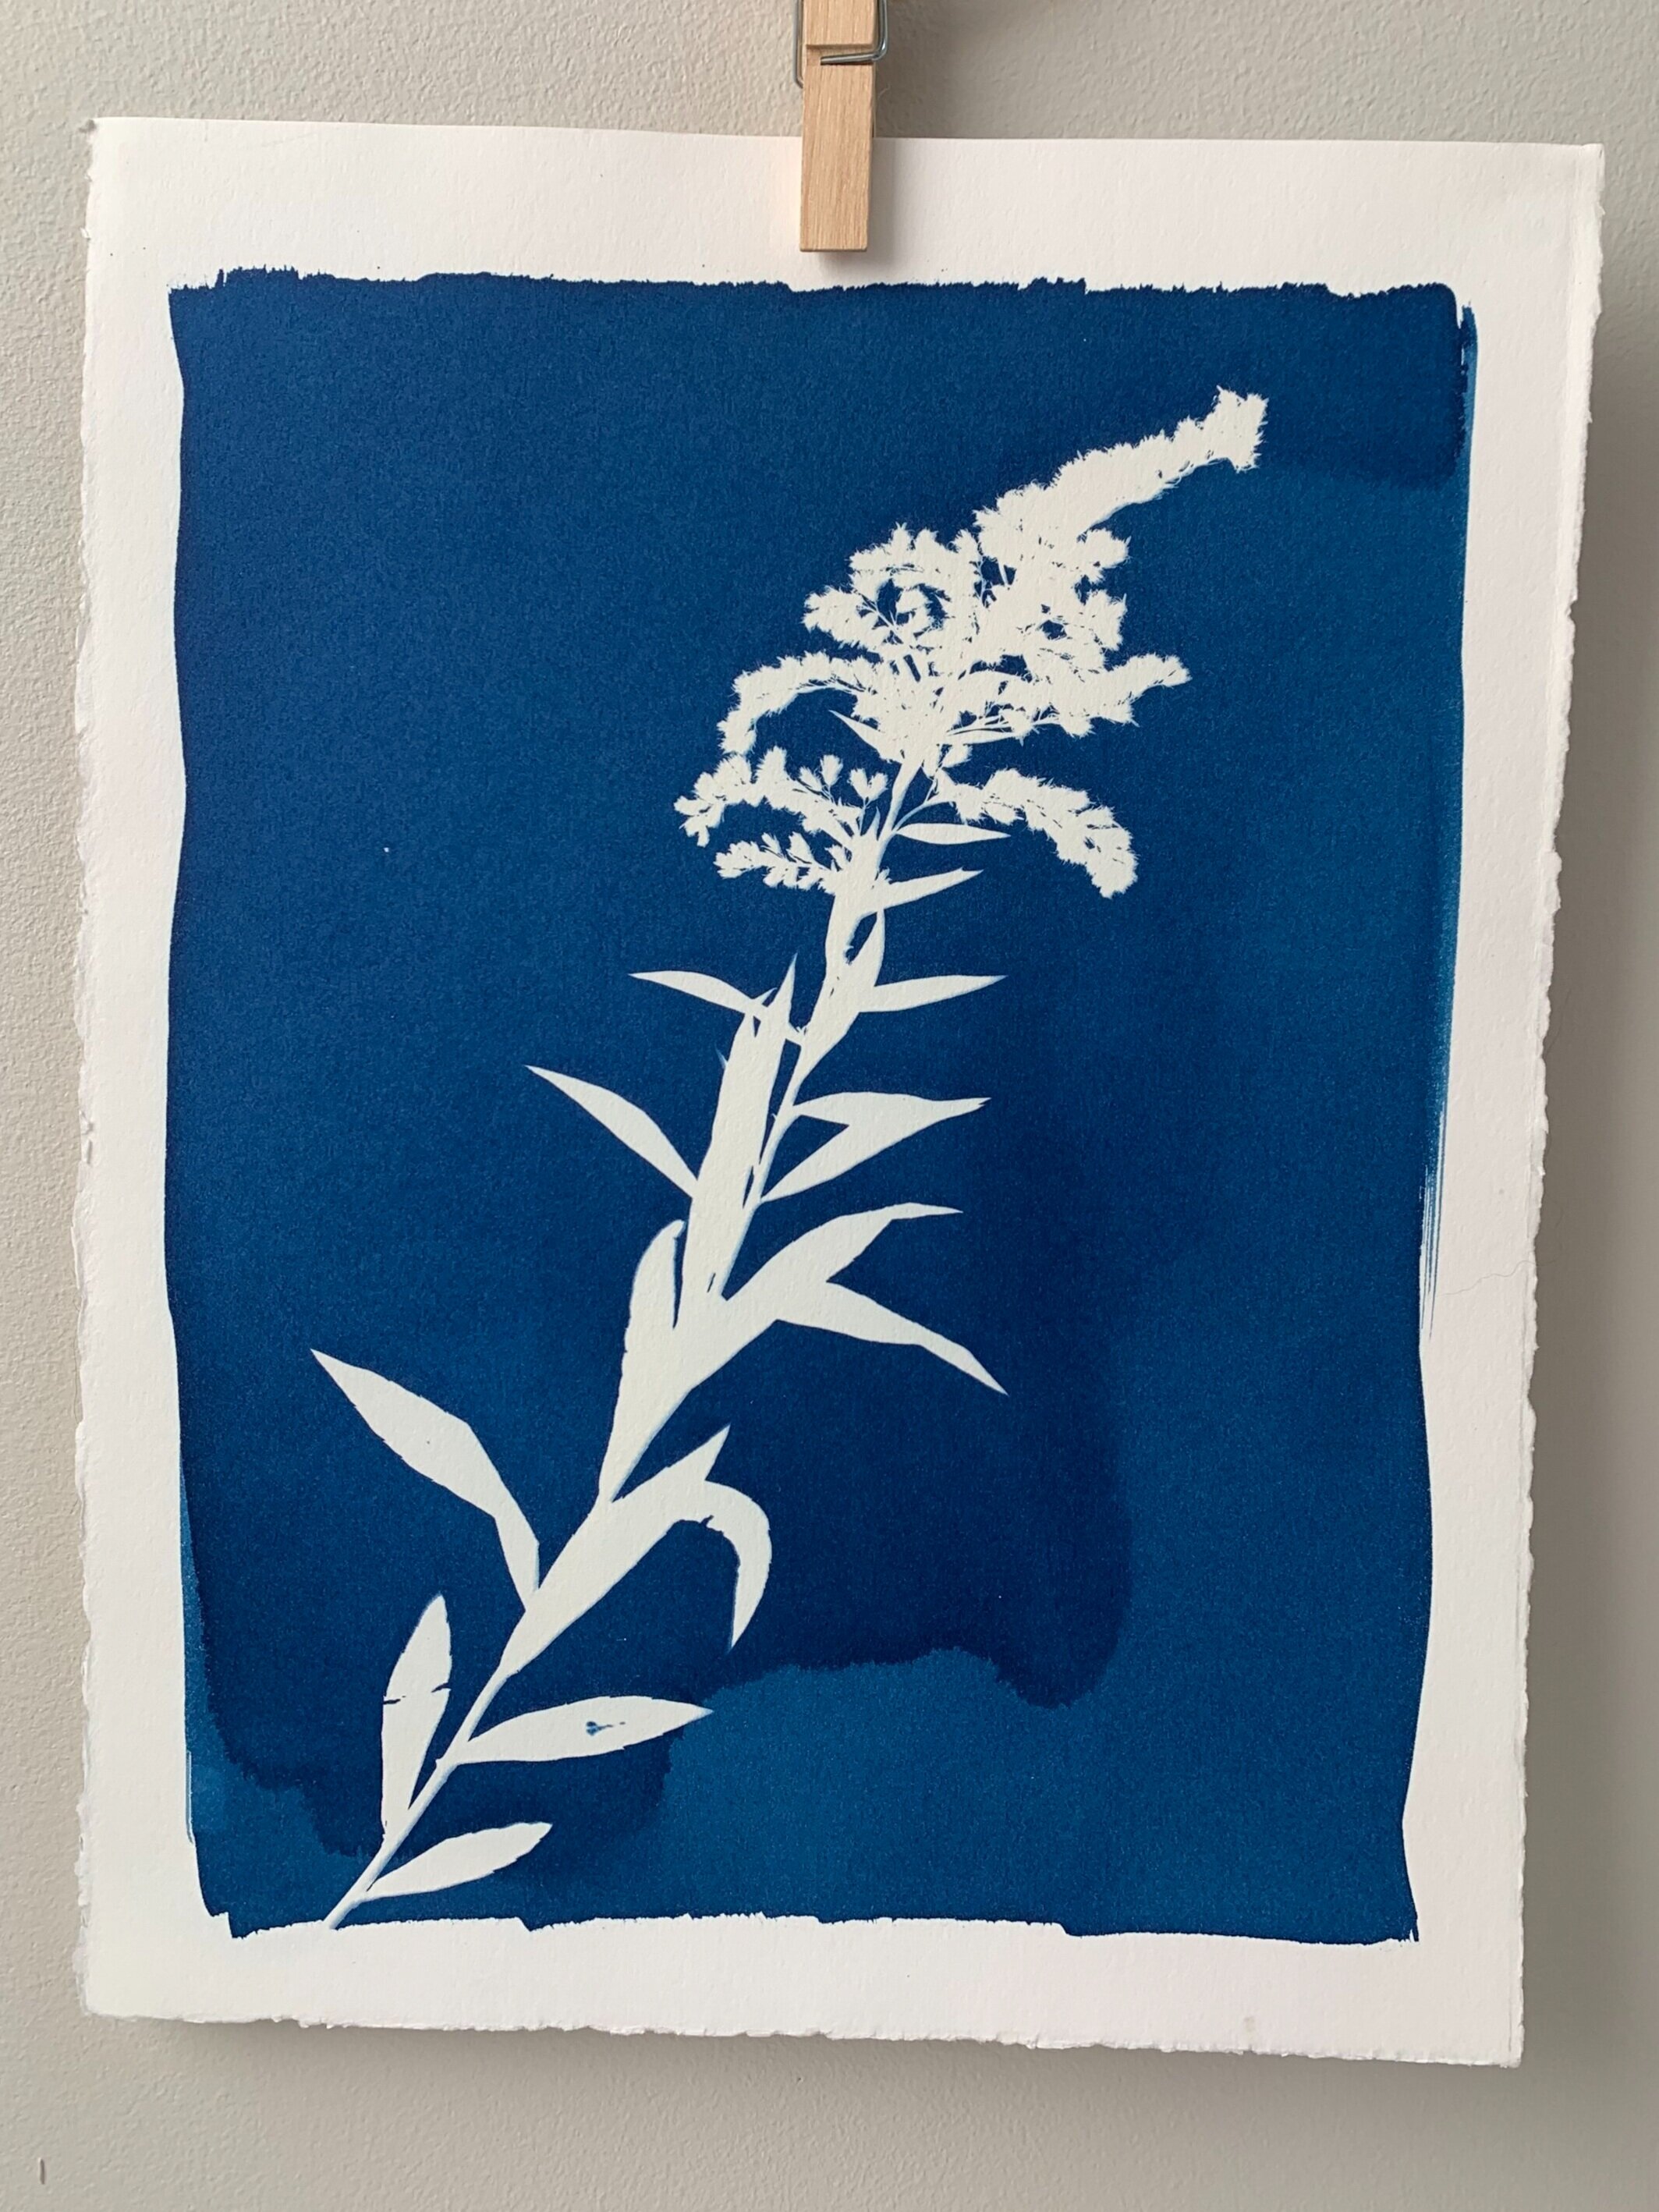
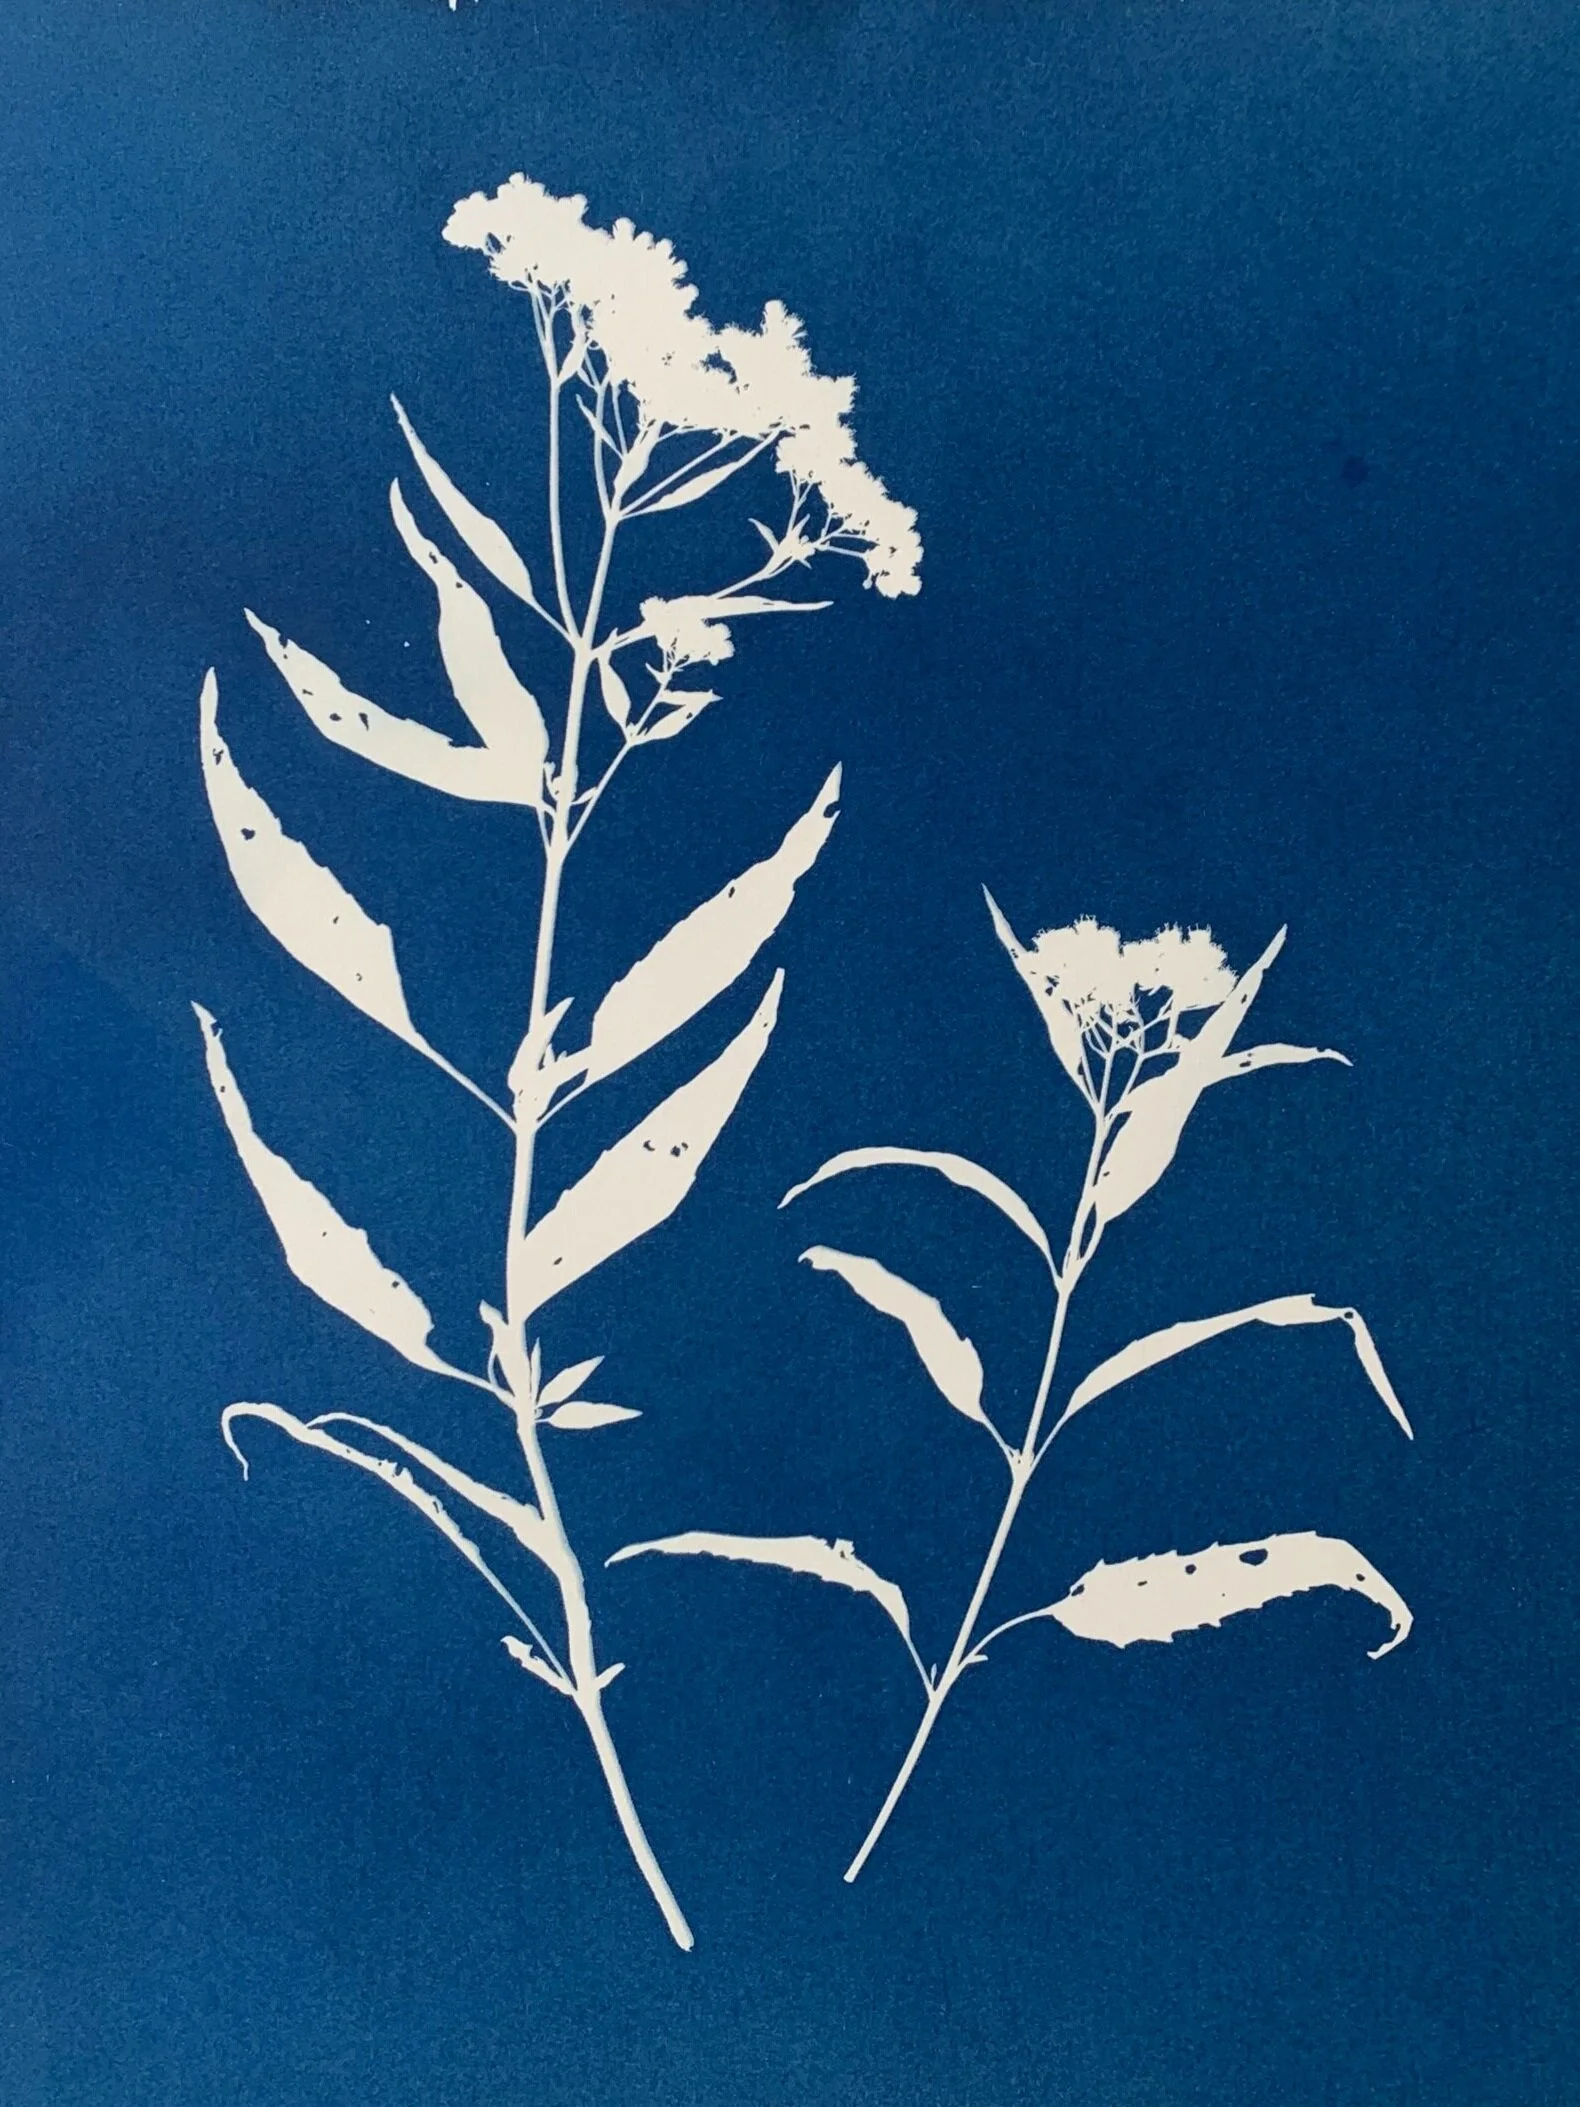
Well, a cyanotype is a contact print made by placing an object on UV sensitive paper and then exposing said paper to sunlight. The UV light causes a chemical reaction in the exposed areas of the paper, but any area that is blocked from the light will stay white when developed.
(To learn more about the history of the cyanotype process, who invented it and why, check out: What is a Cyanotype?)
Cyanotypes are classified as a form of alternative photography (alt photography) because, like regular photography, the process uses light to capture imagery. Only you don’t use a camera to capture the image, you use the thing itself, which is why it’s called a contact print. In other words, you are capturing the silhouette of the object. Understanding this will help you as you choose your botanicals and compose your print.
Getting Started
You will need to gather some some cyanotype materials before you get started on making an actual print. You can find a list of materials below. Because the following tutorial contains detailed instructions (some of which involve advance prep of materials and paper) the teacher in me feels compelled to ask you to read through the all the directions before attempting to make your first cyanotype.
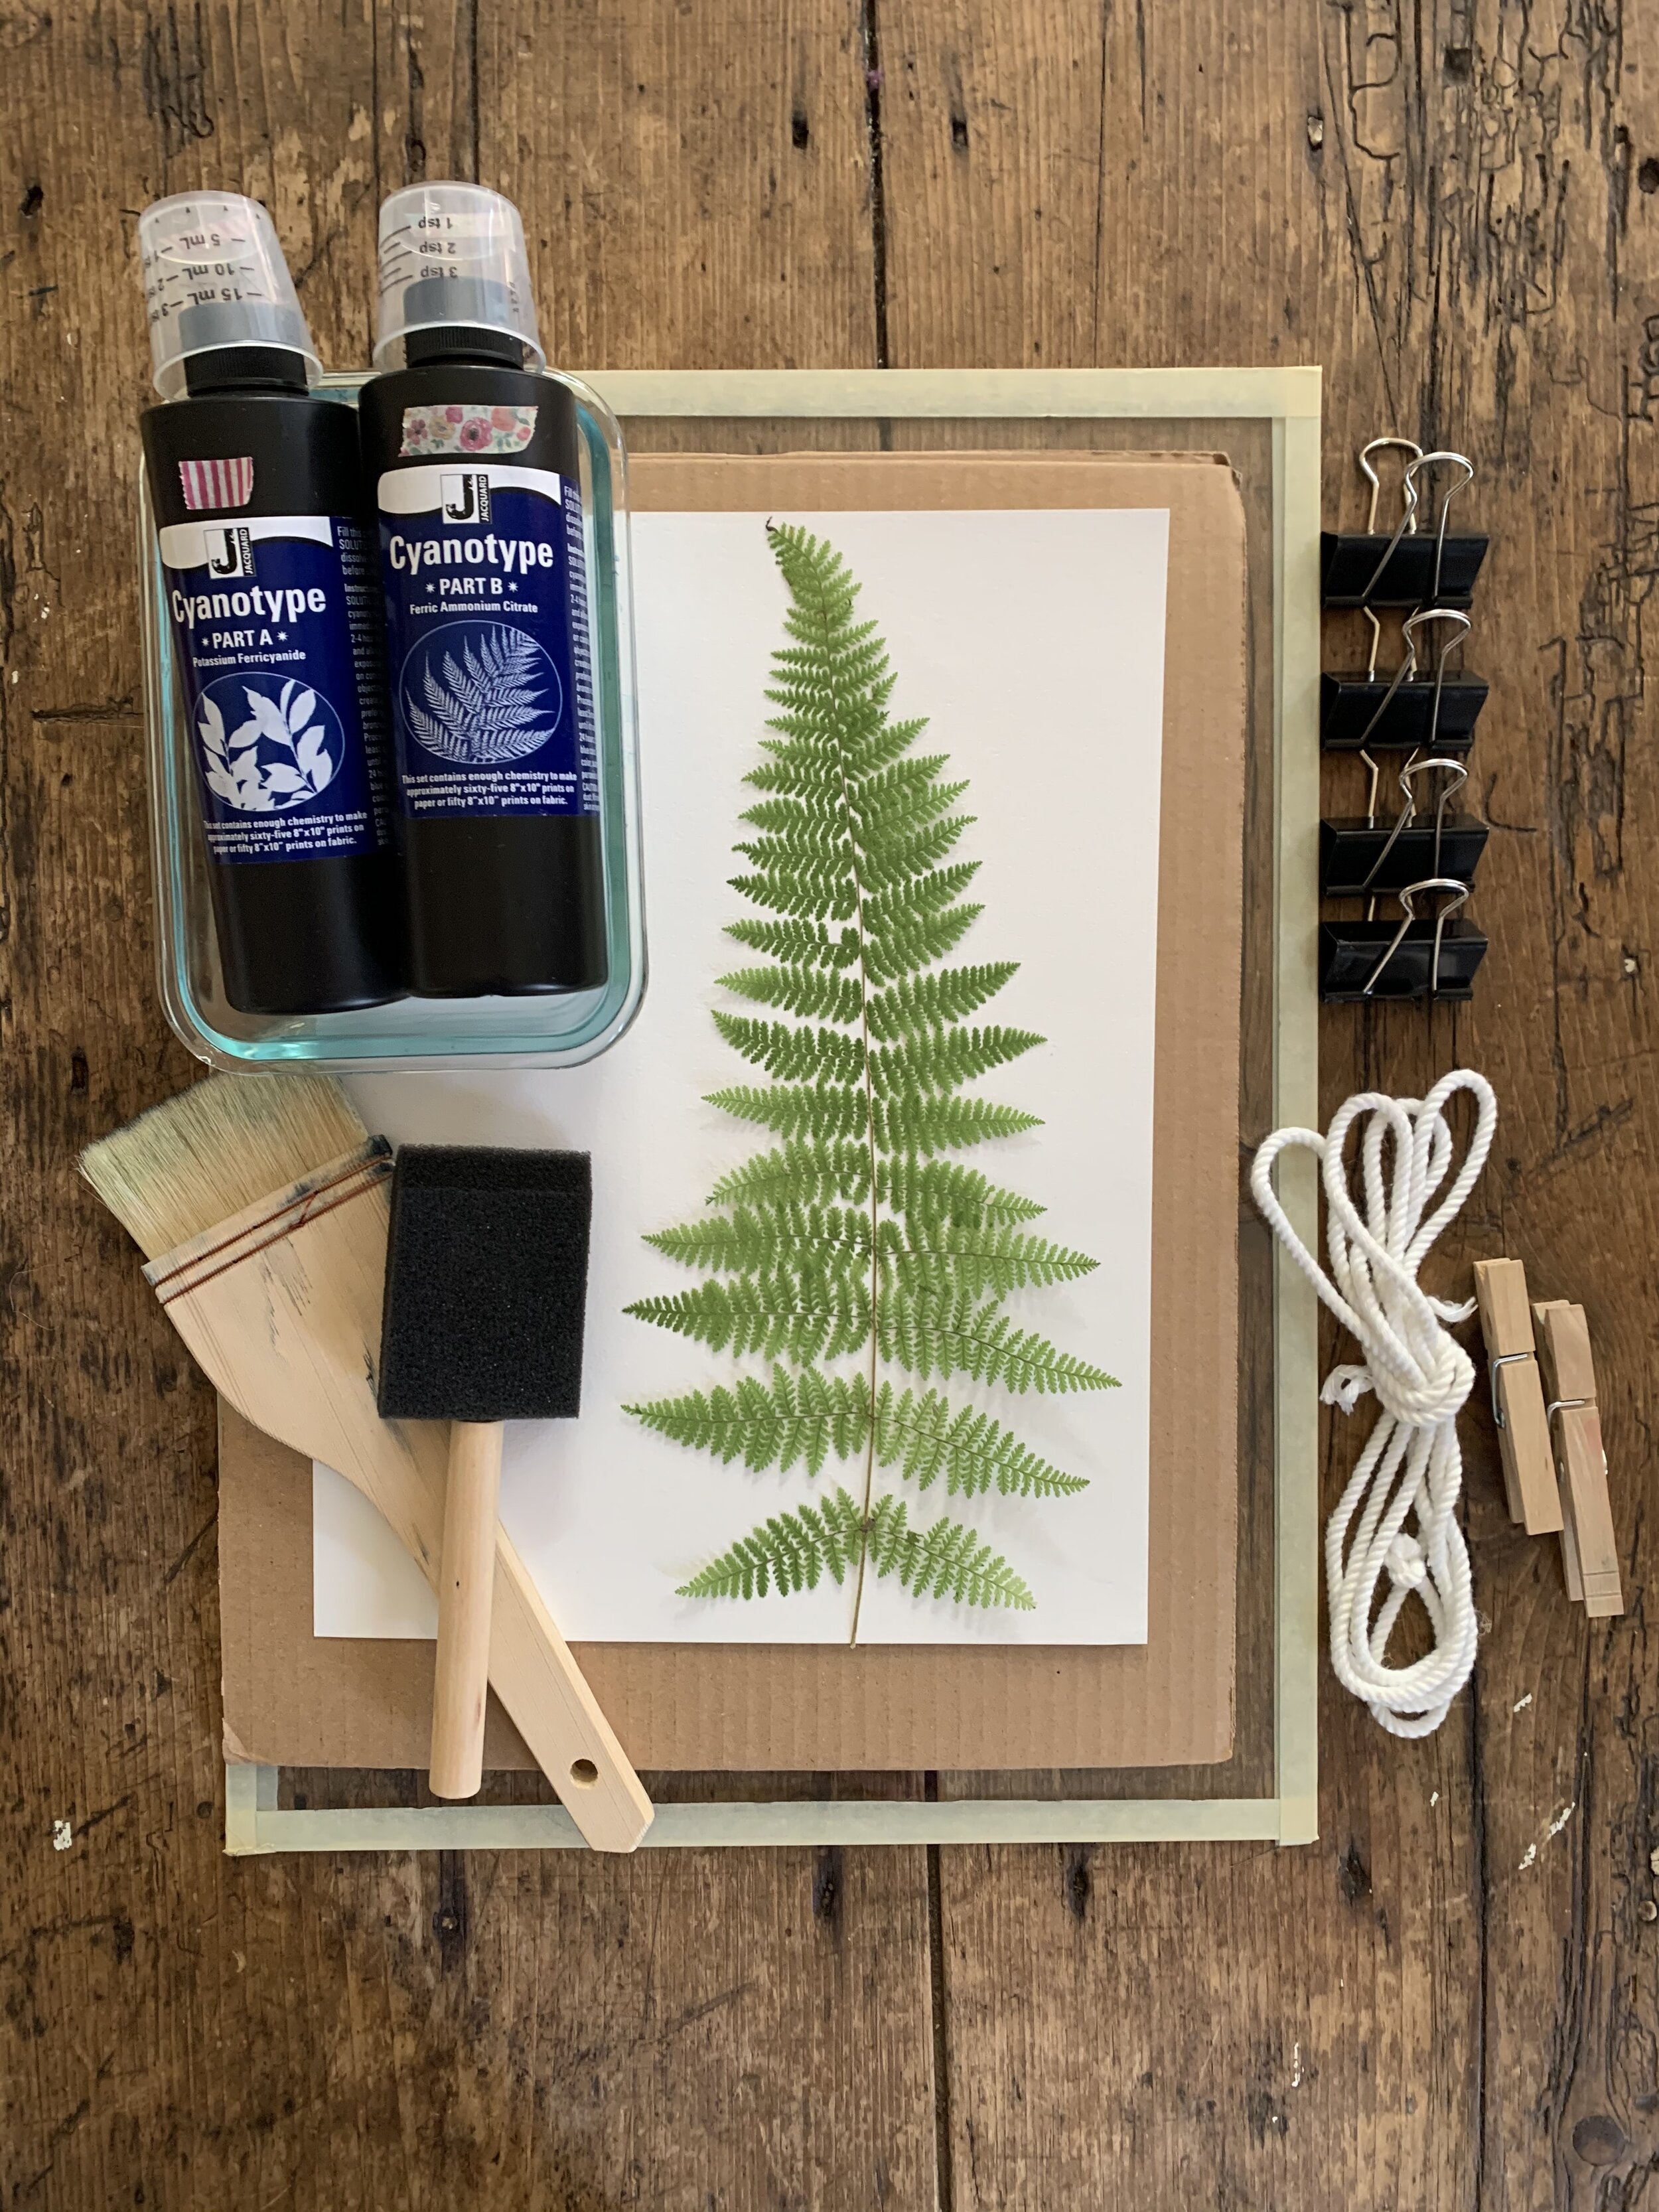
Cyanotype Materials
Jacquard Cyanotype solution**
Small measuring cup (e.g. medicine cup)
Container for the mixed solution
Watercolor Paper or Printmaking Paper (e.g. Stonehenge)
Brushes: Hake or simple foam brush
Plate Glass (e.g. from an old frame)
Binder Clips
Water in a container (sink or tub) for developing the print
A drying line with clothespins
**You can purchase Precoated Paper Kits from Jacquard if you don’t want the hassle of mixing and measuring your own solution. The solution has a shelf life of 2 years, so there is plenty of time to experiment, but if you are just getting started, precoated kits are a simple & easy way to get started.
Paper Prep
Choose a darkened room to prepare your paper. Remember: your paper will ‘develop’ when it is exposed to UV light, so close blinds to eliminate as much ambient UV light as possible.

Cover your painting surface with newspaper to protect if from any solution that may drop. The solution will stain fabric/carpet and wood.
Measure equal amounts of solution A and B and pour into a container. Note: Once solution A is mixed with solution B it is only good for about 30 minutes. So only mix what you think you will use.
Gently shake the container to mix your solution, then ‘paint’ your paper with the solution.
Put your paper in a dark closet to dry. You should allow your paper to dry completely before using (approx. 45 mins)
While you are at it, I would also suggest making a few test strips at this time. Test strips are used to determine exact exposure times. (To learn about how and why to make test strips, check out this post)
While your paper is drying, you can go out and gather your botanicals. If you are not ready to make your print, you can always store your paper (upside down) in a box or drawer for several months at a time.
Explore: Enjoy the Journey
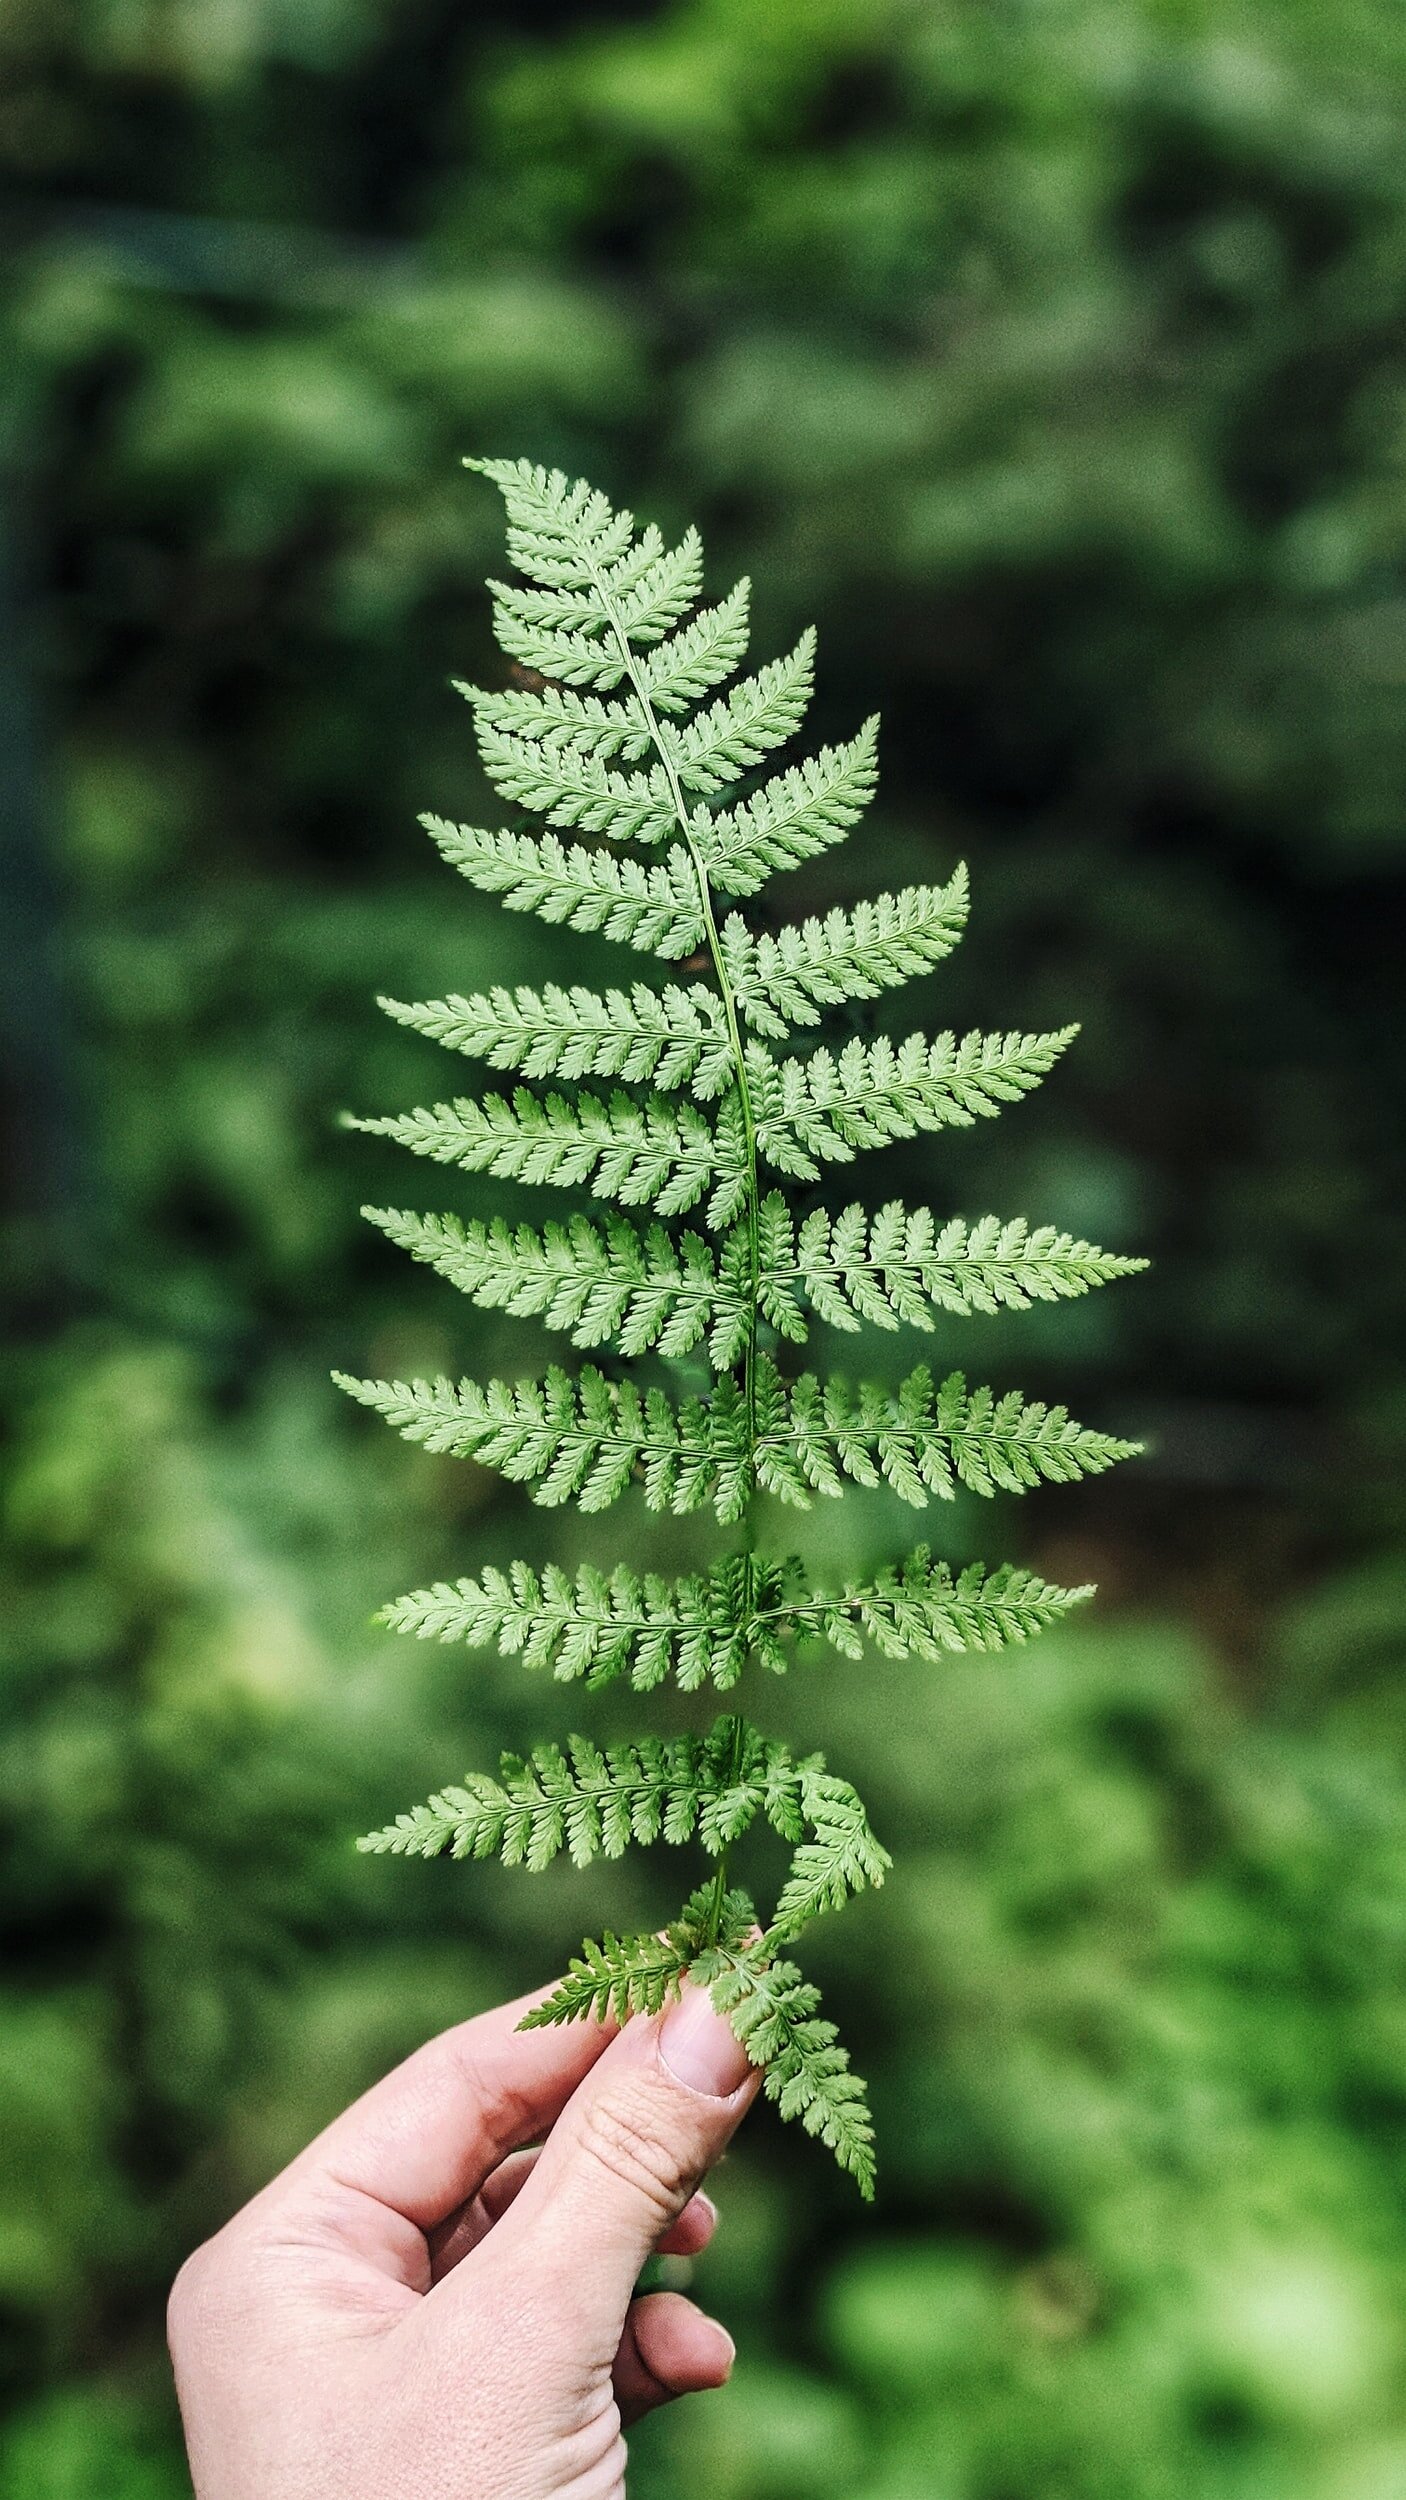
This is where the magic happens. It’s time to explore and get lost in the journey. Think about where you want to go. Maybe it’s a meadow walk or a mountain hike, or maybe it’s just a stroll around the neighborhood. The good news is, you can find great botanical material just about anywhere. The botanic world offers an endless array of magical shapes and silhouettes. Not only that, studies have shown that we are designed to take comfort in the green world—the natural curve of a stem or the fractal of an umbel—which is one of the reasons why cyanotypes yield such delightful and pleasing results.
So the sky’s the limit when it comes to choosing material. Just remember to take this time to treat yourself. This is an important part of the creative journey. Revel in nature’s botanic bounty and all its perfect little details. Stay curious. Swoon. Be Awestruck!
Bloom: Designing & Developing Your Print
After you have gathered your plant material, it’s time to design your print. I prefer to design my prints inside before taking them out, that way I can take my time and really get into the design process. *Before you begin this part of the process, I suggest prepping your water bath so you can develop your print as soon as you bring it in. I use the downstairs tub, but you can use a sink or even a plastic bin, just also long as it’s big enough to completely immerse your print in water. I also take this time to hang my drying line and get that ready too. If you want to determine exact development times, then go ahead and make your test strip as well.
In a darkened room, lay your primed paper onto a sheet of cardboard. The cardboard will serve as the stiff backing that you will clip to the glass once you have arranged your botanicals.
Arrange your botanicals on the paper to your liking, but be sure to take the time to think about the overall composition carefully. Take time to enjoy this process and really think through what elements you want to highlight.
Will your print feature one plant or several?
Play with the styling and composition
Pay attention to the negative space as well as the positive space
Think about the structure of your specimen and where it will lay on the paper
Does your plant lend itself to a front and center view or a graceful appearance from the side?
Enjoy this part of the process--get lost in it. This where your creativity gets to bloom & glow, so have fun with it!

Pro Tip
If you really want to get a sense of what your specimen will look like as a final print, try sandwiching it between two pieces of copy paper and hold it up to the window. This will help you get a feel for the final results.
3. Check your glass to make sure it is clean & clear of any fingerprints
4. Place the glass over your design and secure it to the cardboard backing with binder clips
5. Cover completely with a towel or another piece of cardboard as you move it outside to your exposure site.
When you get outside…

Get your print situated in the sun, and set your timer for the desired exposure time. Exposure time will vary according to the time of day and time of year. On a sunny day, I usually expose my prints between 11:00am-2:00pm for 10-15 minutes. To determine a more precise exposure time for your area, do a test strip first. Learn more about test strips here.
Uncover your print and start the timer. Exposure time will vary according to the time of day and season.
While your print develops, take time to enjoy the warmth of those beautiful rays that are helping you create your print.
4. When the timer goes off, cover your print with the towel/cardboard and & take it inside to develop it.
5. Develop your print in the prepped water, for about 10 minutes, making sure to agitate the print in the water every so often to ensure all the solution has washed off the paper.
6. Hang your print on the line to dry.
Now wasn’t that fun?
Did you enjoy the process? Did you get a little lost in your exploration or in your design process? I hope so! I would love to hear about
your favorite part.
Tell me all about it in the comments below.
I am also happy to answer any questions that may have come up along the way. Cheers!